
TL;DR:
- Proper planning, accurate measurements, and securing cabinets to studs are essential for successful kitchen cabinet replacement.
- Patience during finishing and thorough workspace preparation prevent costly delays and ensure lasting results.
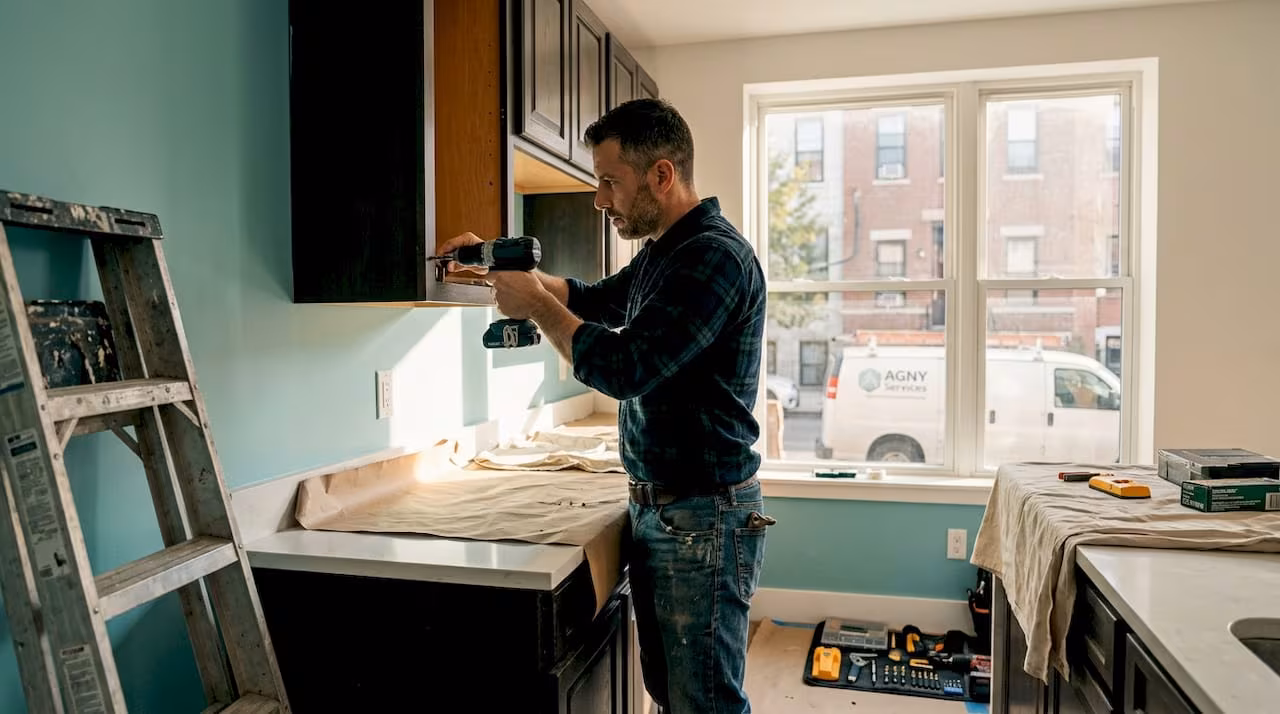
Kitchen cabinet replacement is the process of removing existing cabinetry and installing new units to improve your kitchen’s function, storage, and appearance. Done right, it is one of the highest-impact upgrades in any step-by-step kitchen renovation. This guide walks you through every phase: tools, removal, installation, finishing, and troubleshooting. You will need a stud finder, a power drill (DeWalt and Bosch are reliable choices), a level, shims, and a pry bar before you touch a single screw. Cabinet layout and appliance decisions must be locked in early to prevent costly delays downstream.
What tools and materials do you need for kitchen cabinet replacement?
Gathering the right tools before you start is the single most important preparation step. Missing a clamp or a proper drill bit mid-project costs you hours and momentum. The table below covers the core tools, their purpose, and a realistic price range for each.
| Tool | Purpose | Estimated cost |
|---|---|---|
| Stud finder (Zircon e50) | Locate wall studs for secure fastening | $20–$40 |
| 4-ft level (Empire 581) | Verify cabinet alignment horizontally and vertically | $25–$60 |
| Power drill (DeWalt DCD777) | Drive screws and drill pilot holes | $80–$150 |
| Pry bar (Stanley 55-515) | Remove old cabinets without tearing drywall | $15–$30 |
| Clamps (Bessey KR3.524) | Hold cabinets together while fastening | $20–$50 each |
| Screwdriver set | Remove hardware and adjust hinges | $15–$35 |
Beyond tools, stock up on materials before day one. You will need 2.5-inch cabinet screws, wood shims, a 2×4 ledger board, painter’s tape, zip-lock bags for hardware, safety glasses, and work gloves. Having everything on-site before demolition begins prevents the most common DIY delay: the mid-project hardware store run.
Pro Tip: Renting a laser level from Home Depot or Lowe’s for a weekend costs roughly $30 and gives you far more precision than a standard bubble level. For a one-time project, renting beats buying on several specialty tools.
Workspace preparation matters as much as tool selection. Clear the kitchen completely, protect floors with rosin paper or cardboard, and shut off the circuit breakers for any outlets near the work area. Turn off the water supply if your cabinets sit near the sink. A clean, protected workspace prevents accidental damage and keeps the project moving.
How do you safely remove old kitchen cabinets?
Safe removal is where most DIY mistakes happen. Rushing through this phase damages drywall, nicks plumbing lines, and creates expensive repairs. Follow these steps in order.
- Turn off utilities. Shut off the water supply valve under the sink and flip the circuit breakers for any outlets or under-cabinet lighting in the work zone. Confirm power is off with a non-contact voltage tester before touching any wiring.
- Empty and disconnect. Remove everything from inside the cabinets. Disconnect the sink drain and supply lines if the base cabinet surrounds the sink. Place a bucket under the P-trap before loosening connections.
- Remove doors, drawers, and hardware first. Label each component using painter’s tape and store screws in labeled zip-lock bags. This organized approach makes reinstallation or hardware reuse straightforward.
- Unscrew the cabinet boxes. Locate the screws fastening each cabinet to the wall studs, typically inside the cabinet along the top rail. Remove them with a power drill on reverse. Do not pry until all screws are out.
- Pry carefully. Slide a pry bar between the cabinet back and the wall. Apply slow, steady pressure rather than sharp force. Work from the top down on wall cabinets and from the front on base cabinets.
- Patch and inspect the wall. Once cabinets are out, inspect for mold, water damage, or pest activity before proceeding. Fill screw holes with joint compound and sand smooth.
Pro Tip: Wall cabinets are heavier than they look. Have a helper hold the cabinet while you remove the final screws. A cabinet that drops unexpectedly can crack drywall, damage countertops, or cause injury.
Before you commit to full replacement, consider whether your existing cabinet boxes are structurally sound. Refacing or hardware replacement can transform a kitchen without full demolition and save thousands of dollars. If the boxes are solid and square, new doors and hardware may deliver 80% of the visual impact at 20% of the cost.
What is the process for preparing the space and installing new cabinets?
Preparation and installation are the heart of the kitchen cabinet installation guide. Precision here determines whether your finished kitchen looks professional or perpetually off. Work through these steps in sequence.
- Find and mark all studs. Cabinets must be fastened to studs, not drywall alone, for safety and long-term stability. Use a stud finder to locate each stud and mark it with painter’s tape from floor to ceiling.
- Establish your reference lines. Measure up from the highest point of the floor (floors are rarely perfectly level) and mark a level horizontal line at 34.5 inches for the top of base cabinets. Mark a second line at 84 inches for the top of wall cabinets. These lines govern every cabinet in the room.
- Install a temporary ledger board. Screw a straight 2×4 along the bottom reference line for wall cabinets. A ledger board supports upper cabinets during installation, eliminating the need for a second person to hold them in place while you drive screws.
- Start with corner base cabinets. Corner units set the alignment for every cabinet that follows. Level them front-to-back and side-to-side using shims under the base. Once level, fasten them to the studs with 2.5-inch screws through the cabinet’s mounting rail.
- Work outward from the corner. Clamp adjacent base cabinets together before fastening them to the wall. Drill pilot holes through the face frames and join them with 1.25-inch screws. Check level after each cabinet is added.
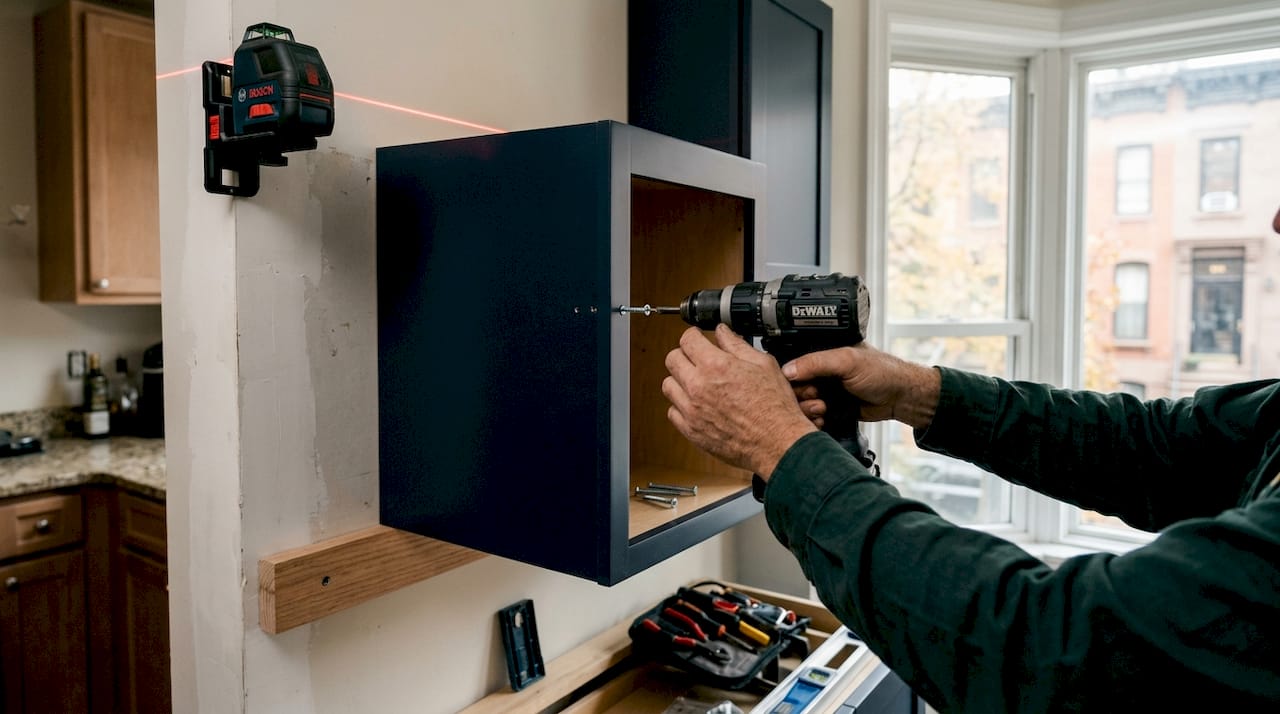
- Install wall cabinets next. Rest each wall cabinet on the ledger board, align it with your reference line, and drive screws through the top and bottom mounting rails into the studs. Use at least two screws per stud location.
- Handle filler pieces last. Gaps between cabinets and walls get filled with scribed filler strips. Cut them to fit with a jigsaw, paint or stain to match, and glue or nail them into place.
Pro Tip: Check for level every three cabinets, not just at the start. Floors and walls accumulate small errors. Catching a 1/8-inch deviation early is far easier than shimming an entire run of cabinets at the end.
Cabinets and countertops are the main timeline drivers in kitchen remodels. Countertop fabricators cannot template until every cabinet is fully installed and leveled. Rushing the cabinet phase to speed up countertop delivery almost always backfires, creating a delay of days or even weeks.
How do you finish cabinet installation with doors, hardware, and adjustments?
The finishing phase is where the project transforms from a construction site into a kitchen. Attention to detail here determines whether the result looks custom or cobbled together.
- Rehang doors using the original hinge locations where possible. Soft-close hinges from Blum or Grass offer smooth operation and are worth the upgrade if you are replacing hardware anyway.
- Adjust door alignment using the three-way adjustment screws built into European-style concealed hinges. Side screws shift the door left or right. Depth screws move it in or out. Height screws raise or lower it. Spend time here until every door gap is consistent.
- Install drawer slides before the drawer boxes go in. Bottom-mount slides are standard; undermount slides from Blum Tandem or Grass Nova are quieter and allow full extension. Level each slide carefully before fastening.
- Use a cabinet hardware jig for knobs and pulls. A hardware jig ensures consistent placement across every door and drawer. Set the jig to the midpoint of each door, mark your drill holes, and always use a backing board behind the door to prevent blowout.
- Paint or refinish cabinet surfaces before rehanging doors if you chose unfinished or paint-grade cabinets. Apply two coats of a water-based alkyd paint like Benjamin Moore Advance for a hard, durable finish.
Painting finishes require 7 to 14 days of curing time before hardware is reattached and normal use begins. Curing is not the same as drying. A finish that feels dry to the touch after 24 hours can still dent, peel, or stick to itself for another week. Rehanging doors too early is one of the most common finishing mistakes in any kitchen cabinet DIY project.
Pro Tip: Hang a clean cotton cloth over the top edge of each door while reattaching hinges. This protects the fresh finish from the metal hinge plate and prevents micro-scratches that show up under kitchen lighting.
What common challenges and troubleshooting tips should homeowners know?
Even well-planned projects hit obstacles. Knowing what to expect keeps you from making expensive reactive decisions.
- Uneven walls and floors are the most common issue in older homes. Shims solve floor irregularities under base cabinets. For walls that bow outward, scribe the cabinet back to match the wall contour rather than forcing the cabinet flush and stressing the frame.
- Plumbing and electrical obstacles require a licensed professional. If removing a cabinet exposes knob-and-tube wiring or corroded copper supply lines, stop work and call an electrician or plumber before continuing. No cabinet installation is worth a fire or flood risk.
- Cabinets that do not fit as planned usually trace back to a measurement error or a wall that is not square. Always measure the diagonal of each cabinet opening. If both diagonals match, the opening is square. If they differ, you need a filler strip or a scribed panel.
- Cabinets that will not sit flush against the wall often have a high spot in the drywall. Use a long straightedge to find the high point and sand or skim-coat it before reinstalling.
- Time management matters more than most homeowners expect. Cabinetry installation sequencing affects countertop scheduling, plumbing reconnection, and appliance delivery. Build two buffer days into your timeline for every five days of planned work.
For countertop planning after cabinets are set, reviewing a marble countertop installation guide helps you understand what fabricators need from your finished cabinet dimensions before they template.
Key takeaways
Successful kitchen cabinet replacement depends on sequencing each phase correctly, from stud mapping and reference lines through curing time for finishes, with no phase rushed or skipped.
| Point | Details |
|---|---|
| Plan before you demo | Lock in cabinet layout and appliance specs before removal to avoid schedule delays and change orders. |
| Fasten to studs only | Cabinets secured to drywall alone will fail; locate and mark every stud before installation begins. |
| Use a ledger board | A temporary 2×4 ledger board lets one person install and level wall cabinets without a helper. |
| Cure finishes fully | Wait 7 to 14 days after painting before rehanging hardware or subjecting cabinets to daily use. |
| Sequence drives the timeline | Countertop templating cannot begin until every cabinet is installed and leveled, so cabinet work sets the entire project schedule. |
What I have learned after years of cabinet installations
The most consistent mistake I see homeowners make is treating the reference line as optional. They figure they will eyeball it or adjust as they go. By the third cabinet, they are shimming aggressively, and by the sixth, the run is visibly off. That single horizontal line, drawn carefully with a level before a single cabinet goes up, is the difference between a kitchen that looks built-in and one that looks assembled.
The second thing I have learned is that the finishing phase deserves as much time as the installation phase. Most people rush it. They rehang doors after 48 hours because the paint feels dry, then wonder why the finish is peeling off the hinge plate six months later. The 7 to 14 day curing window is not a suggestion. It is the difference between a finish that lasts a decade and one that needs redoing in two years.
I also want to say this directly: upgrading kitchen cabinets is genuinely achievable for a patient homeowner with the right tools. You do not need a construction background. You need accurate measurements, a willingness to check level constantly, and the discipline not to rush the cure. The savings compared to hiring out the full labor are real, and the satisfaction of a kitchen you built yourself is something no contractor can hand you.
If your walls are badly out of plumb or you hit unexpected electrical or plumbing work, call a professional for those specific tasks. There is no shame in handling 90% yourself and subcontracting the 10% that requires a license.
— Grzegorz
Ready to take your kitchen further?

Replacing cabinets yourself is a real achievement, but some projects benefit from professional eyes before the first screw goes in. Agny specializes in kitchen renovations that add real value, from full cabinet replacement and millwork to countertop coordination and finishing. If your kitchen involves structural changes, custom cabinetry, or a tight timeline, Agny’s team can design, sequence, and execute the entire project without the guesswork. Review the NYC kitchen remodeling cost guide to understand what your budget can realistically achieve, then contact Agny for a project consultation tailored to your space.
FAQ
What are the basic kitchen cabinet replacement steps?
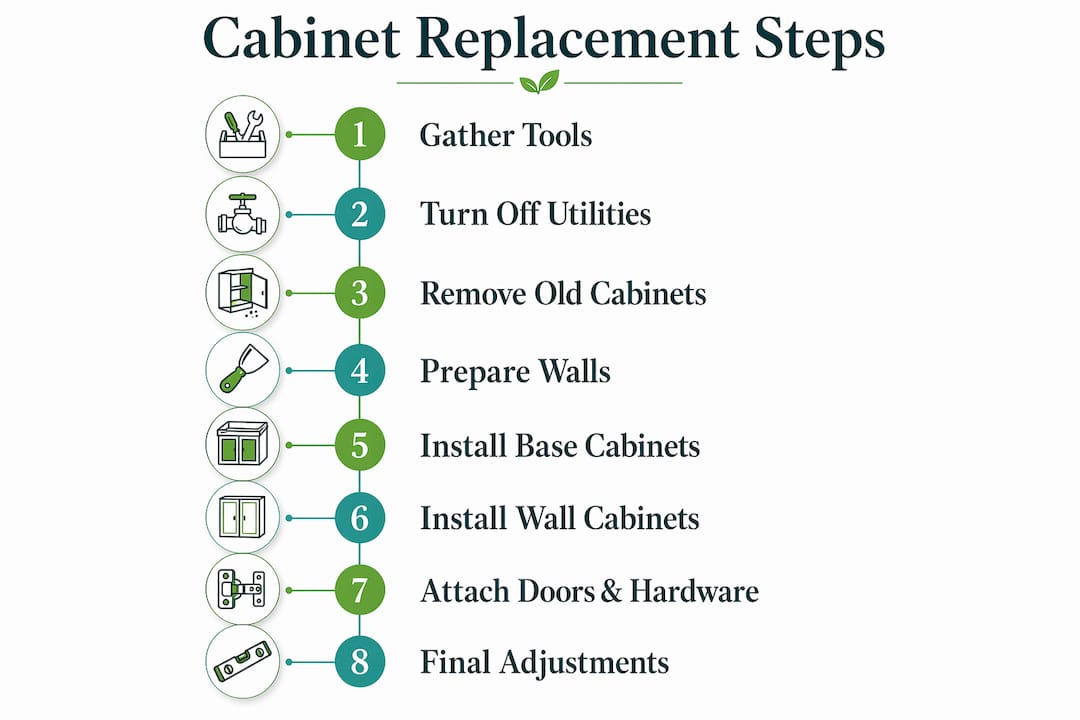
The core steps are: gather tools, turn off utilities, remove old cabinets, prepare walls, install base cabinets from the corner out, install wall cabinets using a ledger board, then attach doors, hardware, and finishes. Each phase must be completed before the next begins.
How long does it take to replace kitchen cabinets?
A standard kitchen takes three to seven days for a skilled DIYer, not counting finish curing time. Countertop templating adds additional days after cabinets are fully leveled and installed.
Do I need to hire a professional for cabinet replacement?
Most homeowners can handle removal and installation themselves. Hire a licensed electrician or plumber if the project exposes old wiring or corroded supply lines. Those tasks carry safety and code requirements that go beyond DIY scope.
Can I keep my existing cabinet boxes and just replace the doors?
Yes. If the cabinet boxes are structurally sound and square, refacing with new doors and hardware delivers a significant visual upgrade at a fraction of full replacement cost.
What is the best material for new kitchen cabinets?
Plywood construction outperforms particleboard for durability and moisture resistance. For door styles, solid wood and MDF with a painted finish are the most common choices. MDF holds paint better than solid wood and resists seasonal expansion.


