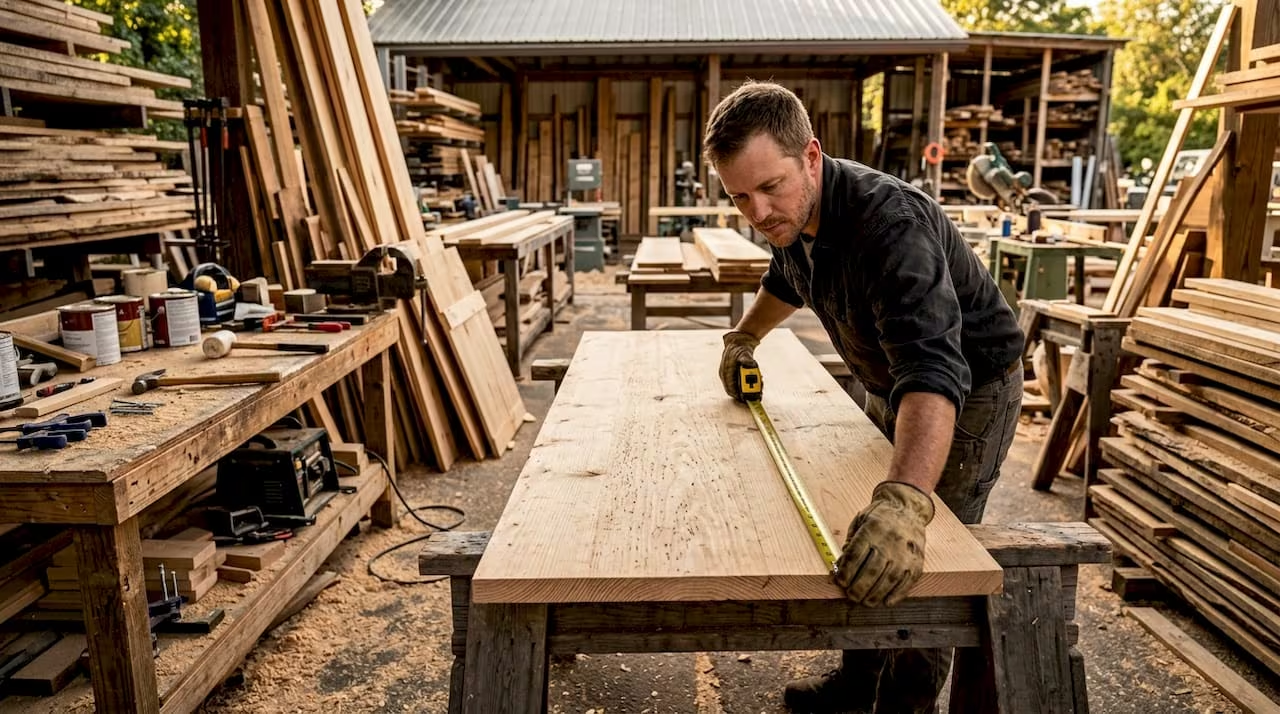
TL;DR:
- Proper millwork installation requires precise measurements, acclimation, and coordination with trades to prevent costly rework. Using the right tools, verifying site conditions, and following proper sequencing ensure structural integrity and aesthetic quality. Consistent quality checks and early scheduling with trades lead to smooth projects and durable results.
Millwork installation steps are the sequential tasks required to properly measure, fit, and secure custom wood elements like trim, cabinets, and molding in renovation projects. Skipping or rushing any step produces gaps, misaligned joints, and callbacks that cost more to fix than they would have to prevent. The role of millwork in design goes beyond aesthetics. It involves structural load distribution and compliance with building codes, which means precision is not optional. AWI Premium grade standards and proper acclimatization protocols are the two benchmarks every contractor and serious DIY enthusiast should know before picking up a single tool.
What tools and materials are essential for millwork installation?
The right tools determine whether your millwork installation process runs smoothly or stalls at every wall. Laser levels, moisture meters, scribing compasses, finish nailers, and a fine-tooth miter saw are the core kit. Without a moisture meter, you are guessing at wood stability, and guessing is expensive.
Essential hand and power tools:
- Laser level (for plumb and level reference lines)
- Moisture meter (to verify 6–8% wood moisture content)
- Scribing compass (to trace wall irregularities onto millwork)
- Fine-tooth miter saw and jigsaw (for precise angle and scribe cuts)
- Finish nailer and pneumatic compressor
- No. 10 wood screws, construction adhesive, and shims
Material and environmental requirements:
| Requirement | Standard |
|---|---|
| Wood moisture content | 6–8% |
| Site humidity | Controlled, matching final conditions |
| Drywall finish | Final coat, at least one paint coat applied |
| Storage conditions | Dry, shaded, temperature-stable |
Storage conditions before installation must control humidity, temperature, and direct sunlight to maintain wood stability and finish quality. A piece stored in a damp garage for two weeks will move after installation no matter how well you fasten it.
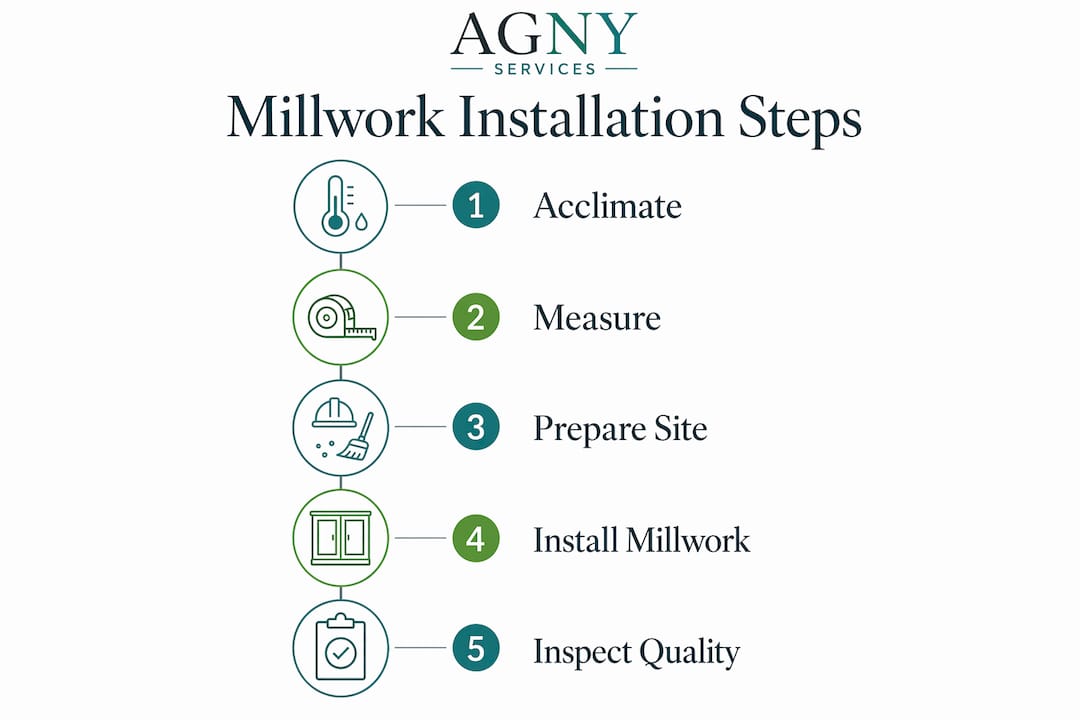
Pro Tip: Acclimate millwork in the actual project space for 7–10 days before installation. Stack boards with spacers between them so air circulates on all sides. This single step prevents most joint gaps.
How to accurately measure and prepare the site

Field measurements after framing, drywall, and floor installation are mandatory. Fabricating from architectural drawings without field verification causes fit-up failures. Walls bow, floors slope, and corners are rarely perfectly square in real buildings.
Follow this site preparation sequence before any millwork arrives on site:
- Verify drywall is complete. Drywall must be at final finish and painted with at least one coat before millwork delivery. Unfinished drywall behind scribe lines shows and cannot be fixed without removing installed pieces.
- Check plumb, level, and square. Use your laser level to identify any wall that is out of plumb by more than 1/8 inch. Mark problem areas on your site drawings.
- Measure every opening and run. Take field measurements at the top, middle, and bottom of every wall run. Walls taper. One measurement is never enough.
- Confirm substrate quality. Floors must be flat within 3/16 inch over 10 feet. Shim or self-level before cabinets arrive, not after.
- Coordinate with other trades. Millwork coordination with plumbing, electrical, and AV trades before installation prevents field modifications and costly rework. Hold a pre-installation meeting with every trade that touches the same walls.
- Review shop drawings and approval samples. Shop drawings must be approved 12–16 weeks before installation to accommodate fabrication lead times. Confirm that physical samples match the approved finish before full delivery.
Pro Tip: Mark stud locations on the floor with tape before millwork arrives. You will not be able to see the wall once cabinets are in position, and hunting for studs mid-installation wastes time and damages drywall.
Incomplete coordination with mechanical, electrical, and plumbing trades before millwork delivery is a leading cause of delays and costly on-site adjustments. Schedule that meeting. It takes one hour and saves days.
Step-by-step guide to installing trim, cabinets, and moldings
This is where the millwork installation guide becomes hands-on. Sequence matters as much as technique. Installing in the wrong order forces you to remove finished pieces to access what is behind them.
The core installation sequence:
- Start with the largest, most complex pieces. Starting with the largest millwork pieces enables precise scribing for irregular walls, improving fit and aesthetics. Set your base cabinets or largest built-in first, then work outward.
- Scribe to the wall. Clamp the cabinet or panel in position. Set your scribing compass to the widest gap between the piece and the wall. Trace the wall’s irregularities onto the millwork. Cut along the scribe line with a fine-tooth jigsaw. Test the fit before fastening.
- Level and shim. Place a laser level reference line across the full run. Shim each cabinet or panel to that line. Never rely on the floor being level.
- Fasten through studs. Proper fastening involves shimming and securing cabinets through the back rail and face frame into studs with minimum No. 10 screws at 1.5-inch penetration. This distributes structural load and prevents racking over time.
- Join adjacent pieces. Clamp cabinet boxes together face-to-face before driving screws through the face frames. This keeps reveals consistent and prevents gaps from opening as wood moves seasonally.
- Install upper cabinets before countertops. Upper cabinets need clear access below. Install them first, then countertops, then base trim and toe kicks.
- Fit trim and moldings last. Crown, base, and casing go on after all cabinet boxes are set and secured. Cope inside corners rather than mitering them. Coped joints stay tight as wood expands and contracts.
Key technique reminders:
- Use construction adhesive on scribe fillers and panels in addition to mechanical fasteners
- Pre-drill pilot holes in hardwood trim to prevent splitting
- Leave a 1/16-inch gap at floor level on base trim to allow for seasonal movement
- Test every drawer and door before moving to the next cabinet run
Common challenges and mistakes in millwork installation
Most millwork failures trace back to three root causes: moisture, measurement, and miscommunication. Knowing these in advance lets you build a process that avoids them.
The most common mistakes:
- Installing before the building is dried-in. Installing wood before the building is dried-in leads to wood shrinkage and joint failure. The building envelope must be complete and HVAC running before millwork enters the space.
- Relying on drawings instead of field measurements. Drawings show design intent, not actual conditions. Always measure the real wall, not the plan.
- Skipping trade coordination. An electrical box in the wrong location forces a field cut that compromises the millwork face. A plumbing stub-out 2 inches off center ruins a cabinet layout. These problems are preventable with one coordination meeting.
- Failing to acclimate millwork. Indoor wood millwork must be maintained at moisture content of 6–8% to prevent dimensional changes causing gaps. Wood can move 1/4 inch per year in humid climates if moisture content is not controlled.
- Shimming incorrectly. Shims placed only at the front of a cabinet create a pivot point. Place shims at both front and back of the cabinet base to distribute load evenly.
“The single most expensive mistake in millwork installation is rushing the schedule. Wood that has not acclimated, walls that are not ready, and trades that have not coordinated all produce the same result: rework. Slow down at the start and you will finish faster.”
Pro Tip: Always check construction team onboarding procedures before starting a millwork project on a larger job site. Knowing who owns each trade’s scope prevents the gaps in coordination that cause the most expensive callbacks.
Finishing steps and inspection for quality millwork
The final phase of any millwork installation process is where professional results separate from amateur ones. This is not the time to rush.
Finishing and inspection checklist:
- Check tolerances. AWI Premium grade standards require tolerances of 1/32 inch or less for joint connections and reveals. Use feeler gauges or a straightedge to verify every joint.
- Adjust concealed hinges. Adjust concealed hinges and hardware to manufacturer tolerances, often requiring adjustments within 1 mm for alignment. A door that is 1 mm out of plane catches the eye immediately.
- Seal all joints. Apply paintable caulk to the joint between millwork and wall. Use a color-matched caulk on stained wood. Unsealed joints collect moisture and open over time.
- Touch up paint and stain. Bring touch-up materials from the original batch. New paint from a different batch rarely matches exactly, even with the same formula.
- Verify hardware operation. Open and close every door and drawer 10 times. Adjust any that bind or do not close flush.
- Document the installation. Photograph every run before countertops and appliances cover the work. This protects you if questions arise later.
Ongoing care is straightforward. Control indoor humidity between 35–50% year-round. Wipe millwork with a damp cloth, never a wet one. Inspect joints annually and re-caulk any that open. For contractors managing quality control in millwork, documenting tolerances at handoff protects both the installer and the client.
Key Takeaways
Successful millwork installation requires acclimated wood, field-verified measurements, coordinated trades, and AWI-standard tolerances at every joint.
| Point | Details |
|---|---|
| Acclimate before installing | Store millwork in the project space for 7–10 days at 6–8% moisture content. |
| Measure in the field | Take field measurements after drywall and flooring are complete, never from drawings alone. |
| Coordinate all trades | Meet with plumbing, electrical, and AV trades before millwork delivery to prevent rework. |
| Start with the largest piece | Scribe and set the biggest component first, then work outward to smaller trim and moldings. |
| Inspect to AWI tolerances | Verify every joint meets 1/32-inch or less tolerance before signing off on the installation. |
What I have learned after years of millwork installations
The advice that saves the most money on millwork jobs is also the hardest to follow: wait. Wait for the building to be fully dried-in. Wait for HVAC to run for at least a week. Wait for drywall to be painted. Contractors who push millwork into a space that is not ready spend twice as much fixing it as they saved by moving fast.
Field measuring is the second lesson I keep coming back to. I have seen experienced fabricators produce beautiful millwork that did not fit because someone pulled dimensions off a drawing. The drawing shows what the architect intended. The wall shows what actually got built. Those two things are rarely identical.
The third thing I tell every crew I work with: start big, finish small. Set your largest cabinet run or built-in first. Everything else references off that anchor point. If you start with trim and work toward cabinets, you will be scribing and re-cutting constantly.
Coordination with other trades is not a soft skill. It is a technical requirement. One misplaced electrical box or a plumbing stub-out that is 2 inches off center can ruin a cabinet layout that took weeks to fabricate. A 30-minute coordination meeting before delivery prevents that. Every time.
— Grzegorz
How Agny helps contractors get millwork right
Millwork installation is only as good as the project management behind it. Agny specializes in kitchen and bathroom renovations where custom millwork is central to the outcome, not an afterthought.

Agny coordinates every trade involved in a renovation, from framing through finish, so millwork arrives on a site that is actually ready for it. That means verified field measurements, completed drywall, and confirmed MEP rough-ins before a single cabinet comes through the door. For contractors and property owners who want kitchen renovations that add real value, Agny brings the project management discipline that turns good millwork into a finished product that lasts. Contact Agny to discuss your next renovation project.
FAQ
What is the correct moisture content for wood millwork?
Indoor wood millwork must be maintained at 6–8% moisture content to prevent dimensional changes that cause gaps and joint failure. Acclimate millwork in the project space for 7–10 days before installation.
Do I need field measurements if I have architectural drawings?
Yes. Fabricating from drawings without field verification causes fit-up failures. Always take measurements after framing, drywall, and flooring are complete.
What AWI tolerance applies to millwork joints?
AWI Premium grade standards require tolerances of 1/32 inch or less for joint connections and reveals. This requires laser levels, scribing tools, and careful shimming throughout installation.
When should millwork be installed relative to other trades?
Millwork installs after drywall is at final finish with at least one coat of paint, and after plumbing and electrical rough-ins are confirmed in their final positions. Coordinate with all trades before delivery.
How do I fasten cabinets correctly?
Secure cabinets through the back rail and face frame into wall studs using minimum No. 10 screws at 1.5-inch penetration. Shim at both front and back of the base to distribute load evenly and prevent racking.