TL;DR:
- Layered bathroom lighting combines ambient, task, and accent lights for optimal function and style. Proper fixture placement, bulb selection, and safety compliance ensure a well-lit, safe, and aesthetically pleasing space. Installing dimmers and coordinating finishes further enhance comfort and design coherence.
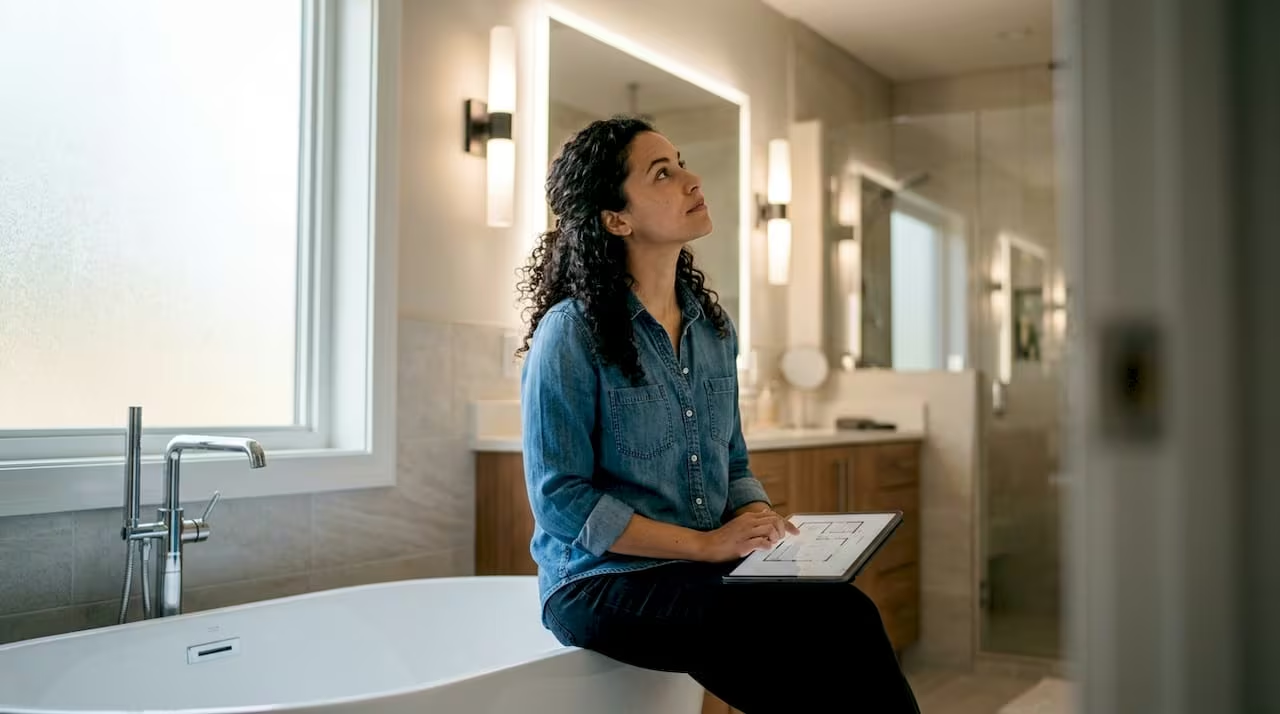
Layered illumination is the single most effective approach to bathroom lighting, combining ambient, task, and accent light to serve every function a bathroom demands. Most homeowners rely on one overhead fixture and wonder why the space feels flat or why grooming results look off. The right bathroom lighting tips address all three layers at once, using precise fixture placement, correct lumen output, and color temperatures matched to each zone. Safety standards like IP44 ratings and GFCI protection are non-negotiable near water. Get these fundamentals right, and every other design decision falls into place.
1. How to layer bathroom lighting for the best results
Layering three lighting types is the foundation of any well-designed bathroom. Ambient light handles general navigation, task light focuses on grooming, and accent light adds depth and mood. Skipping any one layer creates a space that either feels clinical or leaves you squinting at the mirror.
Ambient lighting covers the whole room. Recessed LED downlights, flush ceiling fixtures, and LED panels all work well here. Aim for 500–700 lumens per square meter to hit a comfortable baseline brightness. That range keeps the room functional without the harshness of an overlit hospital corridor.
Task lighting belongs at the vanity. Wall sconces mounted on both sides of the mirror at eye level deliver cross-illumination that eliminates shadows under your chin and eyes. A single overhead light above the mirror pushes shadows downward onto your face. That is the most common mistake in bathroom design, and it is completely avoidable.
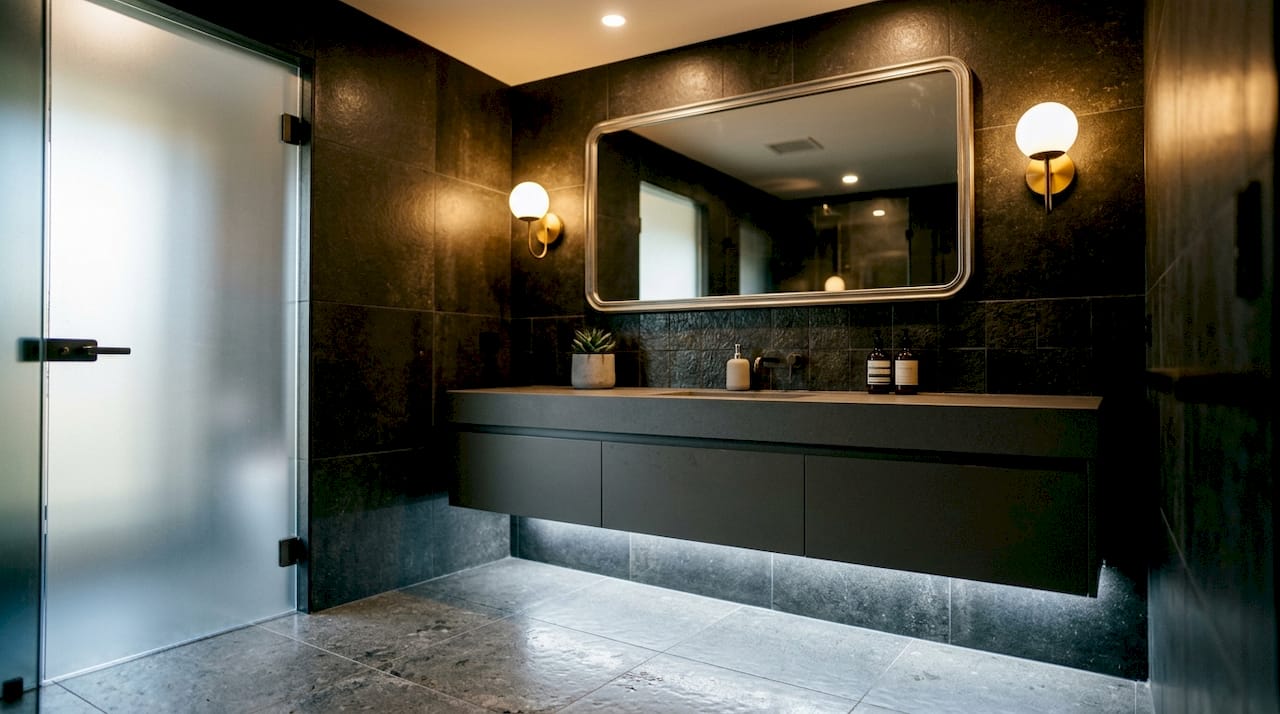
Accent lighting is where personality enters the room. LED strip lights tucked under a floating vanity, inside a niche, or along the toe-kick near the floor add dimension without adding glare. These fixtures work at lower lumen outputs because their job is mood, not function.
Pro Tip: Install a separate dimmer circuit for each lighting layer. That way you can run task lights at full brightness in the morning and drop ambient light to a warm glow for an evening bath.
2. What are the best fixture placements for bathroom lighting?
Placement determines whether your lighting works or fights you. The most critical zone is the vanity mirror, where bad placement creates unflattering shadows that affect grooming accuracy every single day.
Sconce placement at the vanity
Mount wall sconces 60–65 inches from the floor on both sides of the mirror. Space them 24–28 inches apart horizontally to achieve true cross-illumination. This height aligns with most adults’ eye level, so light hits the face evenly from both sides.
If you prefer a bar light above the mirror instead of side sconces, mount it no higher than 75–80 inches from the floor. Above that height, the light angle shifts and shadows reappear under the brow and nose.
Ceiling fixture placement
A central ceiling fixture works best for ambient light in smaller bathrooms. In larger bathrooms, two recessed fixtures spaced evenly across the ceiling prevent dark corners. Avoid placing a single recessed light directly above the shower without supplemental lighting elsewhere. That setup creates a bright wet zone and a dim vanity, which is the opposite of what you need.
- Mount sconces at 60–65 inches from the floor
- Space sconces 24–28 inches apart for cross-illumination
- Keep bar lights at or below 75–80 inches
- Center ceiling fixtures for even ambient spread
- Add recessed lights in shower zones rated for wet locations
Pro Tip: Before drilling, tape paper cutouts where fixtures will go and test the light angle with a flashlight. It takes ten minutes and saves you from patching holes.
3. How to choose the right bulbs for bathroom lighting
Bulb selection affects how you look, how the room feels, and whether your dimmer switch works without flickering. Three specifications matter most: lumens, color temperature (measured in Kelvin), and Color Rendering Index (CRI).
Lumens and color temperature
The recommended brightness for bathrooms is 500–700 lumens per square meter. Color temperature splits by function: 2700K–3000K produces warm, relaxing light suited to ambient fixtures, while 3500K–4000K delivers a cleaner, cooler tone that works better for grooming tasks. Mixing both ranges in the same bathroom creates a disjointed look. Pick one temperature range and apply it consistently across all fixtures in the space.
CRI: the specification most homeowners ignore
A CRI of 90 or above is the standard for vanity bulbs. CRI measures how accurately a light source renders color compared to natural daylight. Bulbs rated at CRI 80 distort skin tones and make makeup colors look different than they do in daylight. That gap between bathroom mirror and outdoor reality is almost always a CRI problem, not a makeup problem.
Dimmability
Not all LED bulbs work on dimmer circuits. Non-dimmable LEDs installed on a dimmer will flicker, buzz, and fail early. Always check for the “dimmable” label on the packaging before buying. This single step prevents the most common LED complaint homeowners report after a bathroom upgrade.
- Use 2700K–3000K bulbs for ambient and accent fixtures
- Use 3500K–4000K bulbs for task lighting at the vanity
- Choose CRI 90+ for all vanity area bulbs
- Confirm “dimmable” labeling before purchasing LEDs
- Keep color temperature consistent across all fixtures in the room
4. How to select fixtures that meet safety requirements
Bathroom fixtures face water, steam, and humidity every day. Safety compliance is not optional, and the right fixture choice protects both your home and your electrical system.
IP ratings explained
IP44 is the minimum rating required for fixtures installed near water zones, including areas within range of shower spray. The IP rating system describes how well a fixture resists solid particles and water. IP44 means the fixture resists splashing water from any direction. Fixtures inside the shower enclosure require a higher rating, typically IP65 or above. Fixtures near water zones must meet IP44 or higher and pair with GFCI-protected circuits to meet electrical safety standards.
GFCI and electrical code
GFCI (Ground Fault Circuit Interrupter) outlets and breakers cut power within milliseconds if they detect a ground fault. The National Electrical Code (NEC) requires GFCI protection for all bathroom receptacles and, in most jurisdictions, for lighting circuits in wet zones. Consult a licensed electrician before adding or moving any fixture near a water source. Knowing the right questions to ask contractors about IP ratings and circuit protection before work begins saves costly corrections later.
Design coordination
Mixing fixture finishes rather than buying a matched set creates a more curated, professional look. Link your sconce finish to your faucet or towel bar hardware, and let those two anchor the room’s metal palette.
Mixing complementary finishes rather than matching every piece exactly is the approach professional designers use. A brushed nickel sconce paired with a matte black faucet reads as intentional. The same sconce paired with a matching brushed nickel faucet reads as a catalog page. Coordinate your bathroom fixture selections around two metal tones at most for a cohesive result.
5. Installing dimmers: the highest-impact upgrade
Dimmers are the easiest and highest-impact lighting upgrade available to homeowners. A single dimmer switch on the ambient circuit lets you shift from bright morning light to a soft evening atmosphere without changing a single bulb. That flexibility is what separates a functional bathroom from a genuinely comfortable one.
Dimmer switches require compatible bulbs and compatible fixtures. Confirm both before purchasing. Most modern LED dimmer switches list compatible bulb types on the packaging or manufacturer website. A mismatched combination produces a buzzing sound at low settings and shortens bulb life significantly.
Separate dimmers for each lighting layer give you the most control. One dimmer on ambient, one on task, and one on accent lets you set the exact mood for any situation. This three-dimmer setup costs less than a new light fixture and delivers more daily value than almost any other single upgrade in the bathroom.
6. Using accent lighting to add depth and style
Accent lighting in a bathroom serves a specific purpose: it adds visual depth and makes the space feel larger and more finished. It does not replace ambient or task light. Treating accent fixtures as the primary light source is a common mistake that leaves the room underlit.
LED strip lights under a floating vanity create a soft glow at floor level that makes the vanity appear to float. The same strips inside a shower niche highlight tile texture and add a spa-like quality to an otherwise plain enclosure. Toe-kick lighting along the base of cabinetry serves double duty as a nightlight for middle-of-the-night visits without requiring you to flip on full overhead lights.
Accent fixtures work best at 2700K to match a warm ambient layer. Running accent lights at a cooler temperature than the ambient layer creates a color clash that reads as an error rather than a design choice. Keep all accent sources within the same Kelvin range as your ambient fixtures.
7. Coordinating lighting with the rest of your bathroom design
Lighting does not exist in isolation. The paint finish you choose affects how light reflects off walls, which changes how bright the room feels even with identical fixtures. Satin and semi-gloss finishes reflect more light than matte, which makes them the practical choice for bathrooms where you want to maximize brightness from existing fixtures.
Tile color and grout tone also affect perceived brightness. Light-colored large-format tiles reflect ambient light back into the room. Dark tiles absorb it. If your bathroom uses dark materials, you need more lumens from your fixtures to achieve the same perceived brightness as a lighter room. Plan your lumen budget around your material choices, not the other way around.
Mirror size matters too. A larger mirror reflects more light across the room and amplifies the effect of your vanity fixtures. A mirror that spans the full width of the vanity doubles the visual impact of side-mounted sconces. This is one of the most cost-effective ways to brighten up your bathroom without adding a single new fixture.
Key takeaways
Effective bathroom lighting requires three distinct layers, precise fixture placement, and bulbs matched to both function and safety standards.
| Point | Details |
|---|---|
| Layer all three light types | Ambient, task, and accent lighting each serve a different function and all three are needed. |
| Mount sconces at the right height | Place sconces 60–65 inches from the floor and 24–28 inches apart to eliminate facial shadows. |
| Choose CRI 90+ bulbs for vanity | High CRI bulbs render skin tones and makeup colors accurately under artificial light. |
| Match color temperature across fixtures | Keep all fixtures within the same Kelvin range to avoid a disjointed, mismatched look. |
| Install dimmers for every layer | Separate dimmers on ambient, task, and accent circuits give you full control over mood and function. |
What I’ve learned from years of bathroom renovations
The single most common mistake I see in bathrooms is a single recessed light centered in the ceiling. Homeowners live with it for years because the room is technically lit. But the moment we add side-mounted sconces at the vanity and a dimmer on the overhead, the reaction is always the same: they cannot believe they waited so long.
Dimmers are the upgrade I recommend to every client before anything else. They cost less than a new fixture, take an hour to install, and change how the room feels morning and night. If you do nothing else from this article, add a dimmer to your ambient circuit this weekend.
On fixture finishes: stop trying to match everything. I have seen beautifully renovated bathrooms look like a hotel chain because every metal surface was identical. Pick two finishes that complement each other, anchor them to your faucet and your sconces, and let the rest of the room breathe. That approach looks intentional because it is.
The trend I see holding up over time is warm ambient light combined with cooler task light at the vanity. It gives you the spa feel in the evening and the accuracy you need in the morning. Separate dimmers make it work. Without them, you are stuck choosing one or the other.
One caution for DIY homeowners: IP ratings and GFCI requirements are not suggestions. I have seen fixtures installed without proper ratings fail within a year from steam exposure. Before you buy any fixture, confirm the IP rating matches the zone. If you are unsure about your circuit protection, hire a licensed electrician for that one step. The rest of the project you can own yourself.
— Grzegorz
Agny’s bathroom renovation services in NYC
Agny specializes in full bathroom renovations across New York City, including lighting design, fixture selection, and electrical coordination. Whether you are updating a single vanity wall or reworking the entire layout, the team brings the same layered approach described in this article to every project.

Agny’s bathroom renovation services cover everything from fixture placement planning to final installation, with contractors who understand both design and code compliance. If budget is a consideration, renovation financing options are available to help you move forward without delay. Reach out to Agny to discuss your bathroom lighting goals and get a clear plan for the space you want.
FAQ
What is the ideal brightness for a bathroom?
The recommended brightness is 500–700 lumens per square meter. Use the higher end of that range for task areas like the vanity and the lower end for ambient fixtures.
What color temperature works best for bathroom lighting?
Use 2700K–3000K for warm ambient and accent light, and 3500K–4000K for vanity task lighting. Mixing both ranges in one bathroom creates a disjointed look, so pick one range and apply it consistently.
Why does my bathroom mirror make me look different than I do outside?
Low CRI bulbs are almost always the cause. A CRI of 90 or above renders skin tones and colors accurately. CRI 80 bulbs distort color enough to make grooming and makeup results look different in natural daylight.
What IP rating do bathroom fixtures need?
Fixtures in zones near water or shower spray require a minimum IP44 rating. Fixtures inside a shower enclosure need IP65 or higher. Always pair wet-zone fixtures with GFCI-protected circuits.
Are dimmers worth installing in a bathroom?
Yes. Dimmers are the highest-impact upgrade available for most bathrooms. They let you shift from bright task lighting to soft ambient light without changing fixtures, and they cost far less than any new fixture installation.